iSchoolPolymath
we learn many things
Skip to content
Home
Gallery
Mathematical Art Gallery
Courses
Blog
For Teachers
Help
←
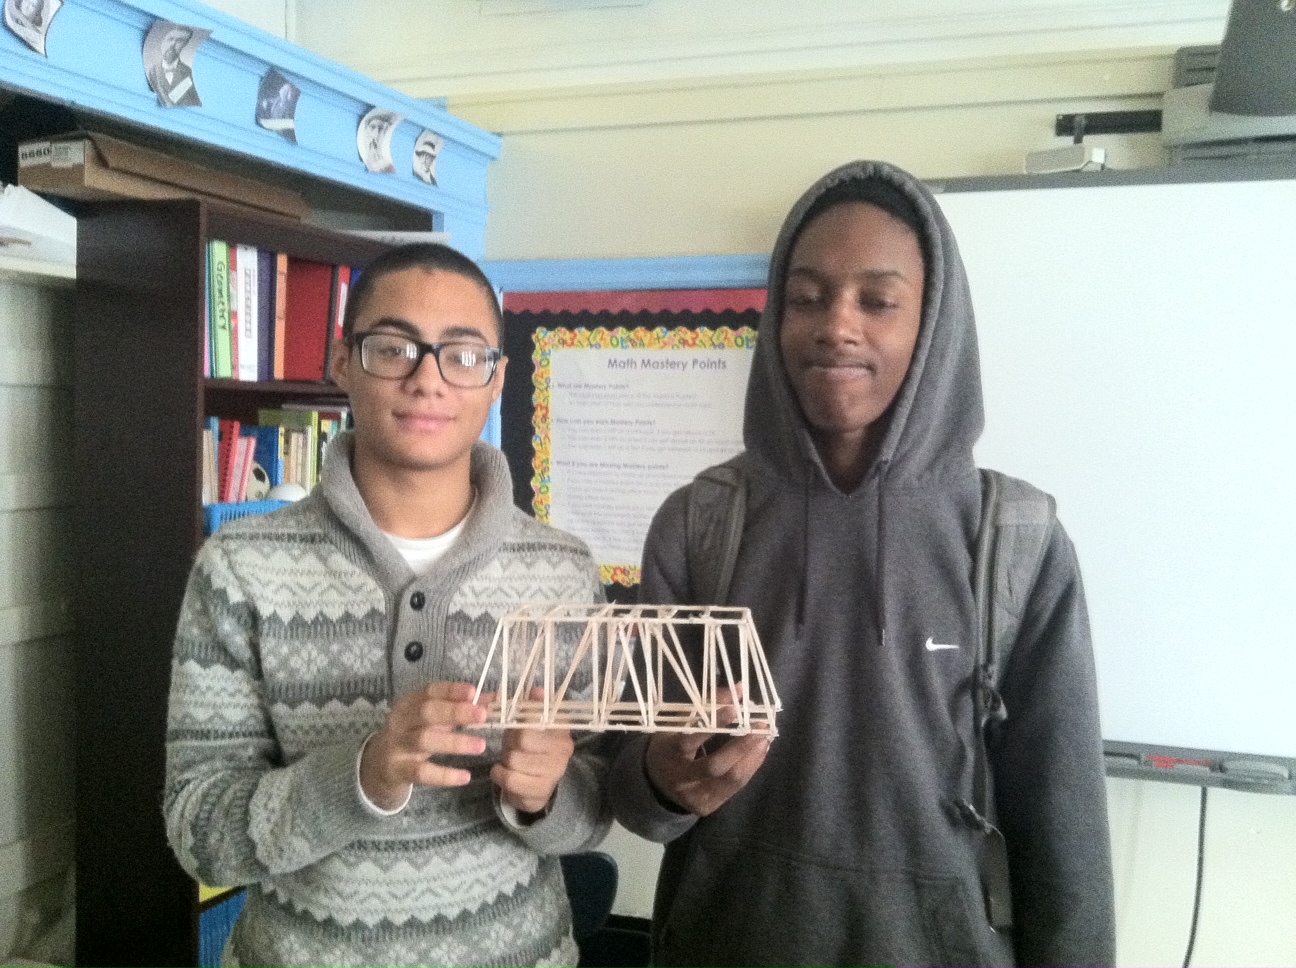
Final Bridge Models
photo 4 (3)
By
sarahpwallace
|
Published
July 25, 2014
|
Full size is
1296 × 968
pixels
photo-5-3
img_3564
Bookmark the
permalink
.
Leave a comment
Cancel reply
Δ
Comment
Subscribe
Subscribed
iSchoolPolymath
Sign me up
Already have a WordPress.com account?
Log in now.
iSchoolPolymath
Subscribe
Subscribed
Sign up
Log in
Copy shortlink
Report this content
View post in Reader
Manage subscriptions
Collapse this bar

